Historical Hobbies: How To Press Flowers
I have been really looking forward to adding some history-based activities to the site. This post is going the be the very first of many which explore a little bit of the history behind a skill or a craft or a recipe, and then gives you the directions to have a go yourself. I’ve decided to call these posts my Historical Hobbies and I want to share a practical piece of the past. I also hope they might help with a school or home education project, or just give you a fun thing to do on a rainy day.
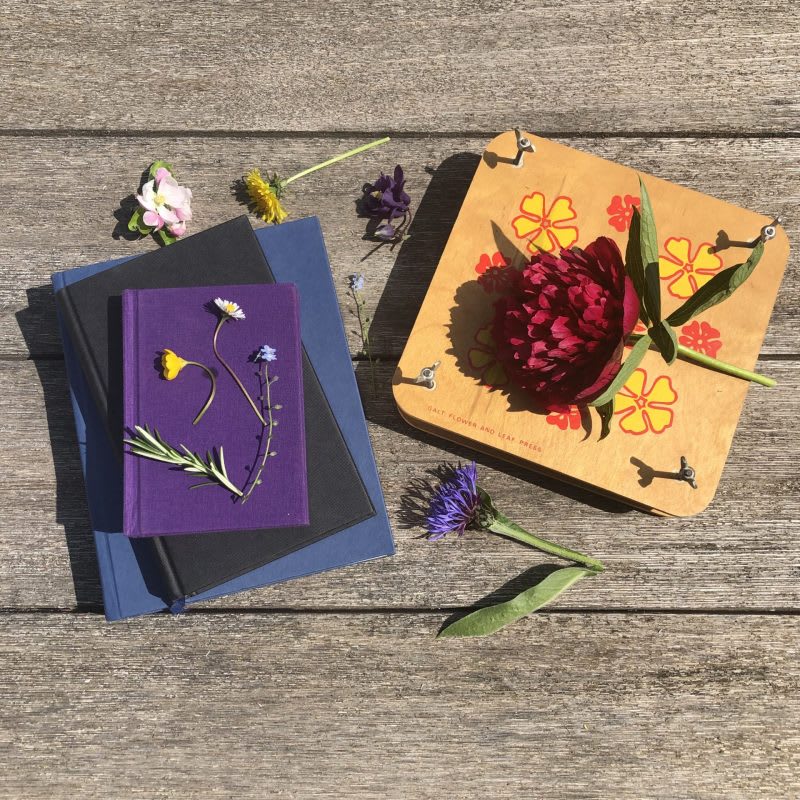
The idea for this particular post came about when the peonies and apple blossom in my garden burst into bloom at exactly the same time last month. The colours and the smell were stunning and it inspired me to try something new. I have a gorgeous flower press which had been given to me ages ago but I’ve never used, and I have shelves full of enormous books which are ideal for using too.
Flowers have been pressed and dried to preserve them for a very long time and the earliest know examples come from the ancient world. The ancient Egyptians mixed dried iris flowers with mint, rock salt and pepper to make toothpaste and they placed pressed and dried flowers in tombs for the dead to take with them to the afterlife. Dried flowers have also been used for their scent since ancient times just as herbs have been hung up to dry for use in cooking and medicines.
The Japanese art of using pressed flowers to create a picture is known as oshibana and it dates back to the sixteenth century. The oldest existing herbarium sheets also come from the sixteenth century. These are collections of dried plants which were mounted onto paper and kept as records by botanists. As European botanists such as Charles Darwin and Joseph Banks explored the world (and their rulers colonised it), they recorded species of plants which were new to them in their herbariums.
The Victorians were particularly fond of using pressed flowers to create pictures and, in 1980, Princess Grace of Monaco (formerly Grace Kelly) published a book full of her own pressed flower creations.


Pressing flowers is really easy to do and doesn’t require any special tools or skills. You can try it out at home too!
What You Will Need:
– Flowers (I used what I could find in my garden but please ask permission if you need to take them from elsewhere and be very careful with wildflowers. The Botanical Society of Britain and Ireland have a code of conduct which contains information to help you stay on the right side of the law if you do want to collect plants from the the wild),
– A flower press or some very heavy books,
– Greaseproof paper or newspaper, Scissors,
– PVA glue or wood glue,
– Card,
– Tweezers,
– Toothpicks


Step 1. Pick and prepare your flowers. Remove any loose leaves that you don’t want to keep. If you have any particularly large blooms (like my peonies) you might want to cut them in half. I carefully used scissors to do this and although I lost a few petals, the two halves held together really well.
Step 2. If you are using a book to press your flowers, place a piece of newspaper or greaseproof paper between the pages. You can use kitchen towel but if it has an embossed pattern on it, it might press the pattern into the flowers.
Step 3. Position your flowers onto the paper and carefully close the book over them. You might want to add some extra books just to make sure that there’s lots of weight on top of your flowers (as you can see, I’m not short of big books so I wasn’t taking any chances).


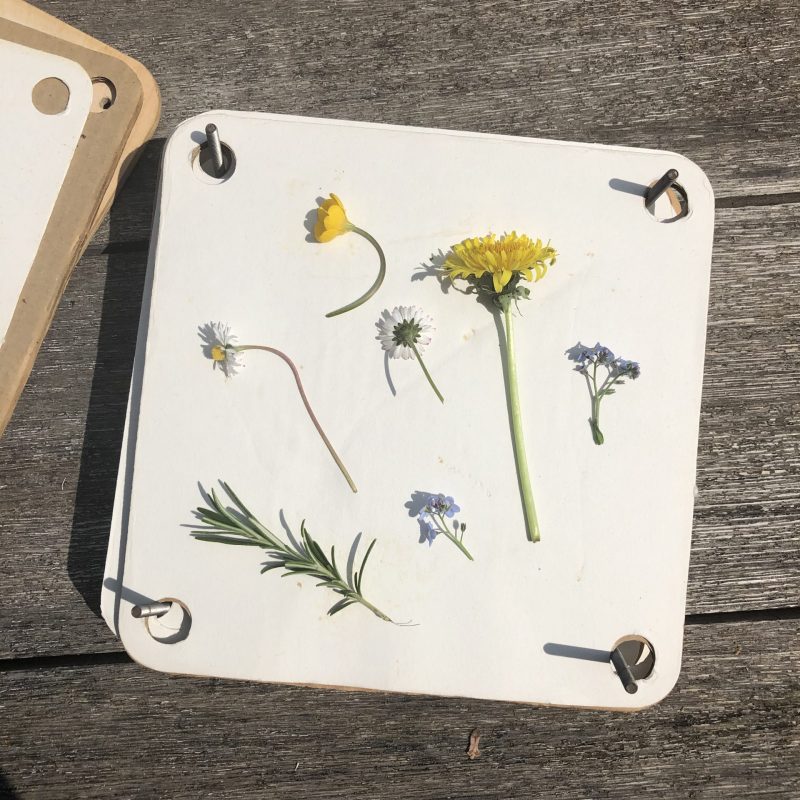
Step 4. If you’re using a flower press like mine, undo the butterfly screws and take apart the different layers (in mine these are white paper and cardboard).
Step 5. Just as with the book, place your flowers carefully onto the paper layers, place another paper layer on top and put some cardboard on top of that. You can keep doing this with different layers until you have used up all of your flowers.
Step 6. Finally place the lid back on and replace the butterfly screws as tightly as you can.


Step 7. Put your books and/or flower press somewhere dry and wait for at least three weeks. I think I left mine for about six weeks.
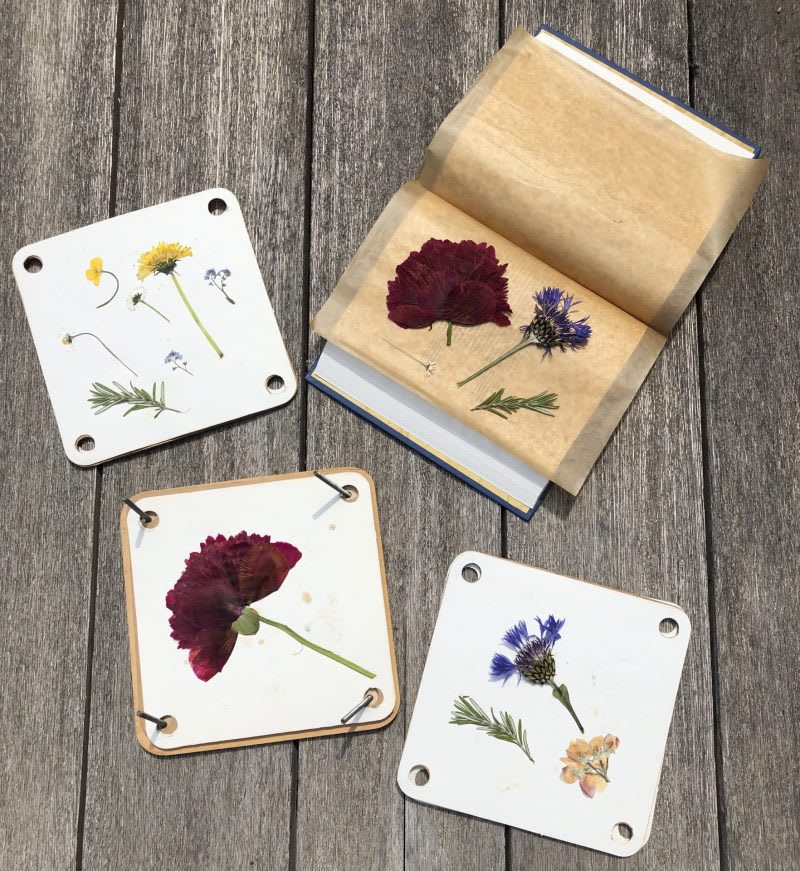
Step 8. The big reveal! It’s time to carefully open your book.


Step 9. And unscrew the flower press.


I’m absolutely delighted with how everything turned out! The colour of the peonies is so dramatically dark and the daisies look so dainty and cute. The knapweed (the purple, thistle-like flowers) are a bit untidy and I would take more care with how I psitioned them in the future but I’m really happy that they kept their colour.
Step 10. The pressed flowers are very delicated and although the flowers in the book lifted easily, I needed to use a pair of tweezers to carefully remove the flowers from the press. One half of my peony was much more delicate than the other and some of the petals came away when I lifted it.
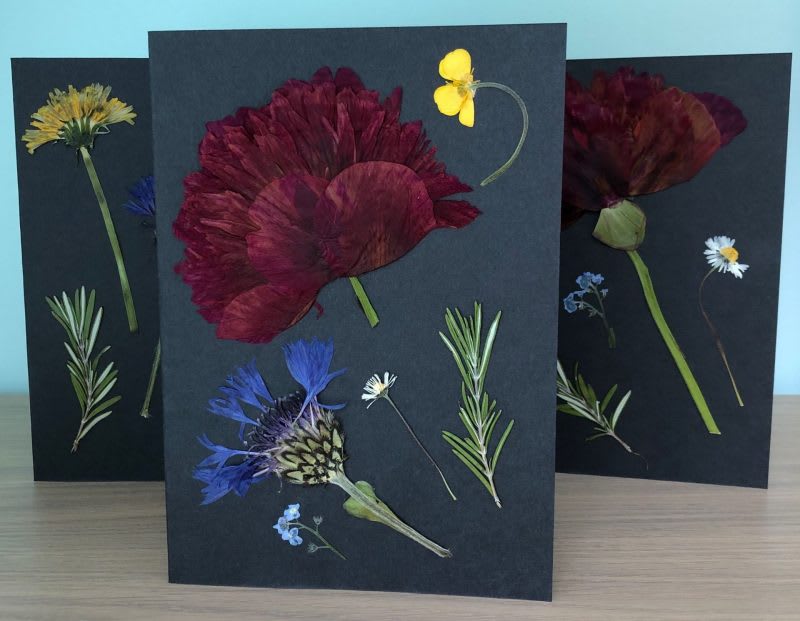
What can you do with your flowers? You can arrange your flowers onto card or paper and put them in a frame to treasure forever. You could glue them into a journal to keep a record of the flowers from your garden or your country walk. I decided to make pretty cards which I could send to friends.
Step 11. I folded my black card in half and decided where I wanted to place the flowers. It did help to use a pair of tweezers to position the more delicate blooms (particularly that fragile peony).
Step 12. Once I knew where I wanted each flower to go, I applied dots of glue to the back of each flower with a toothpick and glued them into place. I stuck some of the loose peony petals back into place as well.


I’m so pleased with how these turned out. The larger flowers were very delicate and became very fiddly to glue into place but I think they look great on the black card and I can’t wait to send them to my friends.